Details
What's inside?
Discussion
Details
Overview
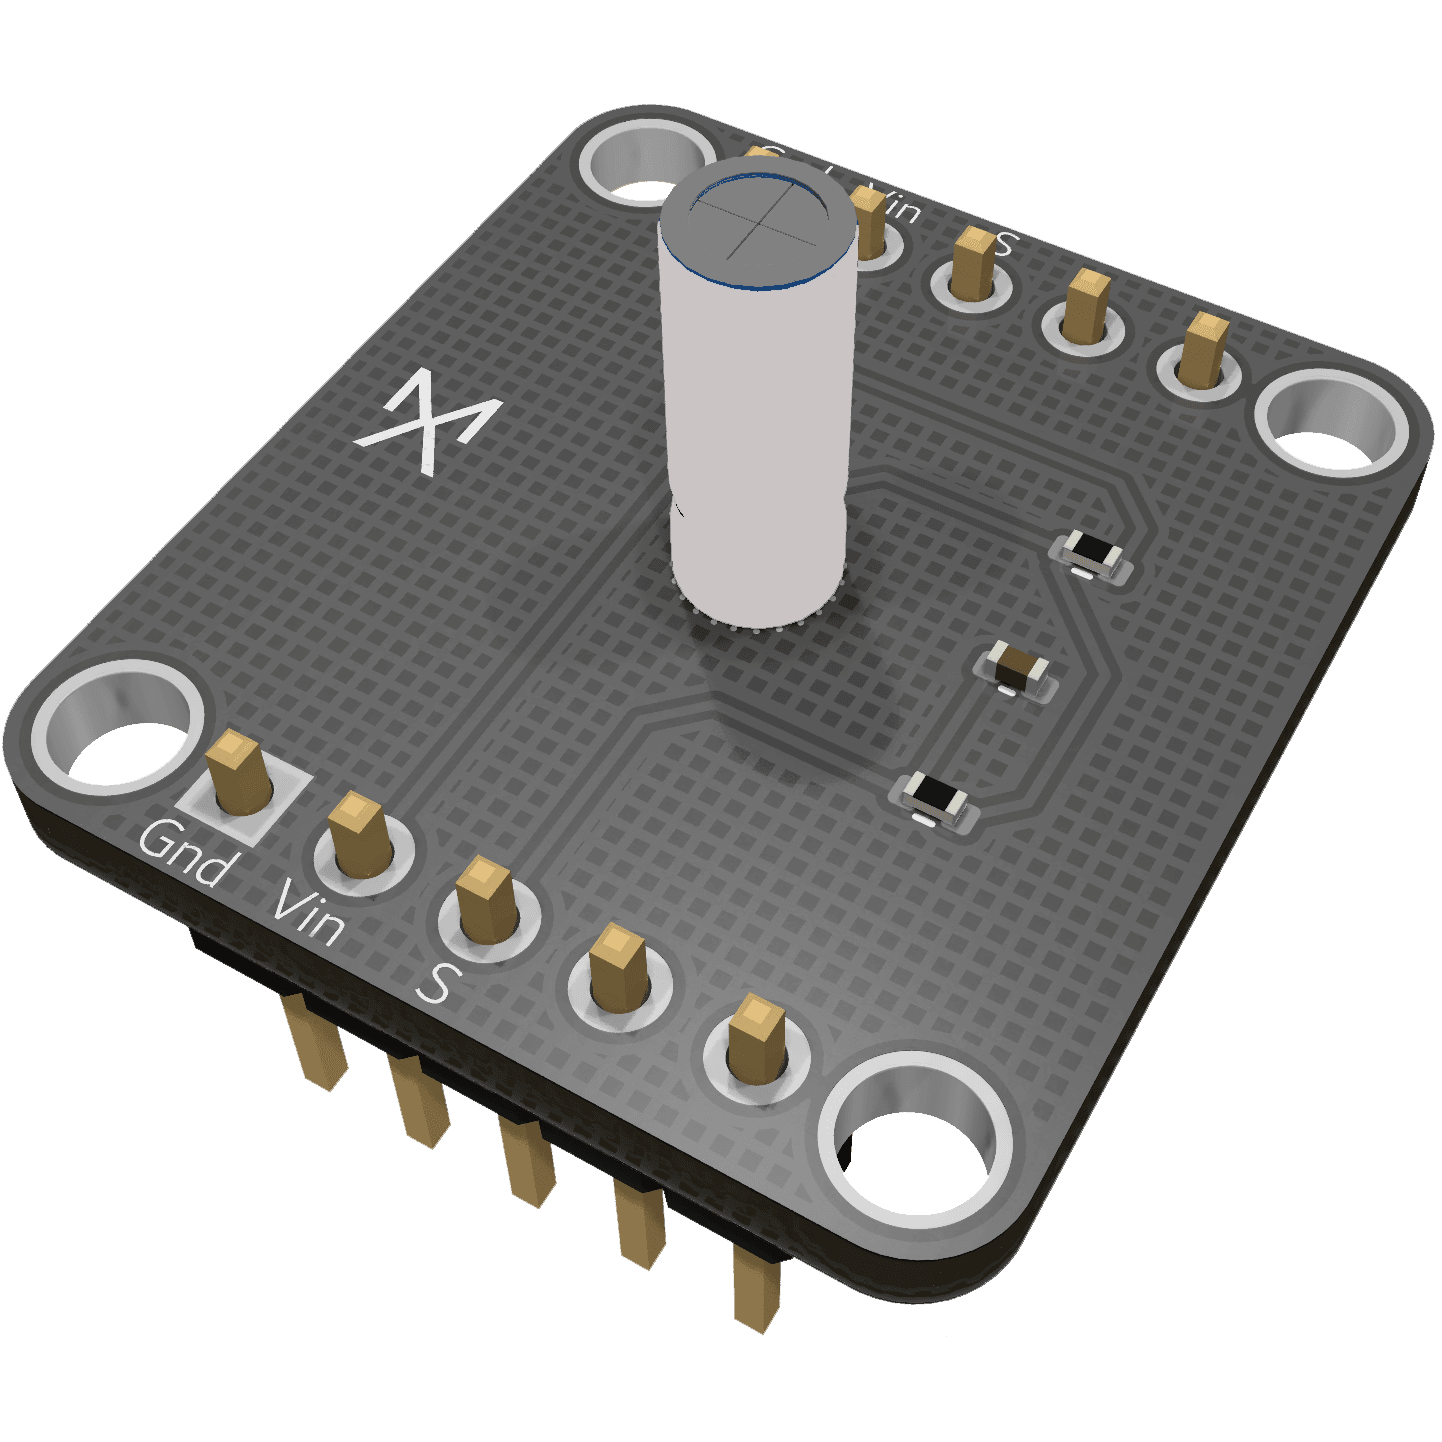
This breadboard compatible RGB LED is perfect for simple light outputs in your projects. All pins are mirrored on each side for easier access connect as you wish
RGB
Arduino Compatible
Digital Input
Genesis Matrix Compatible

Documentation
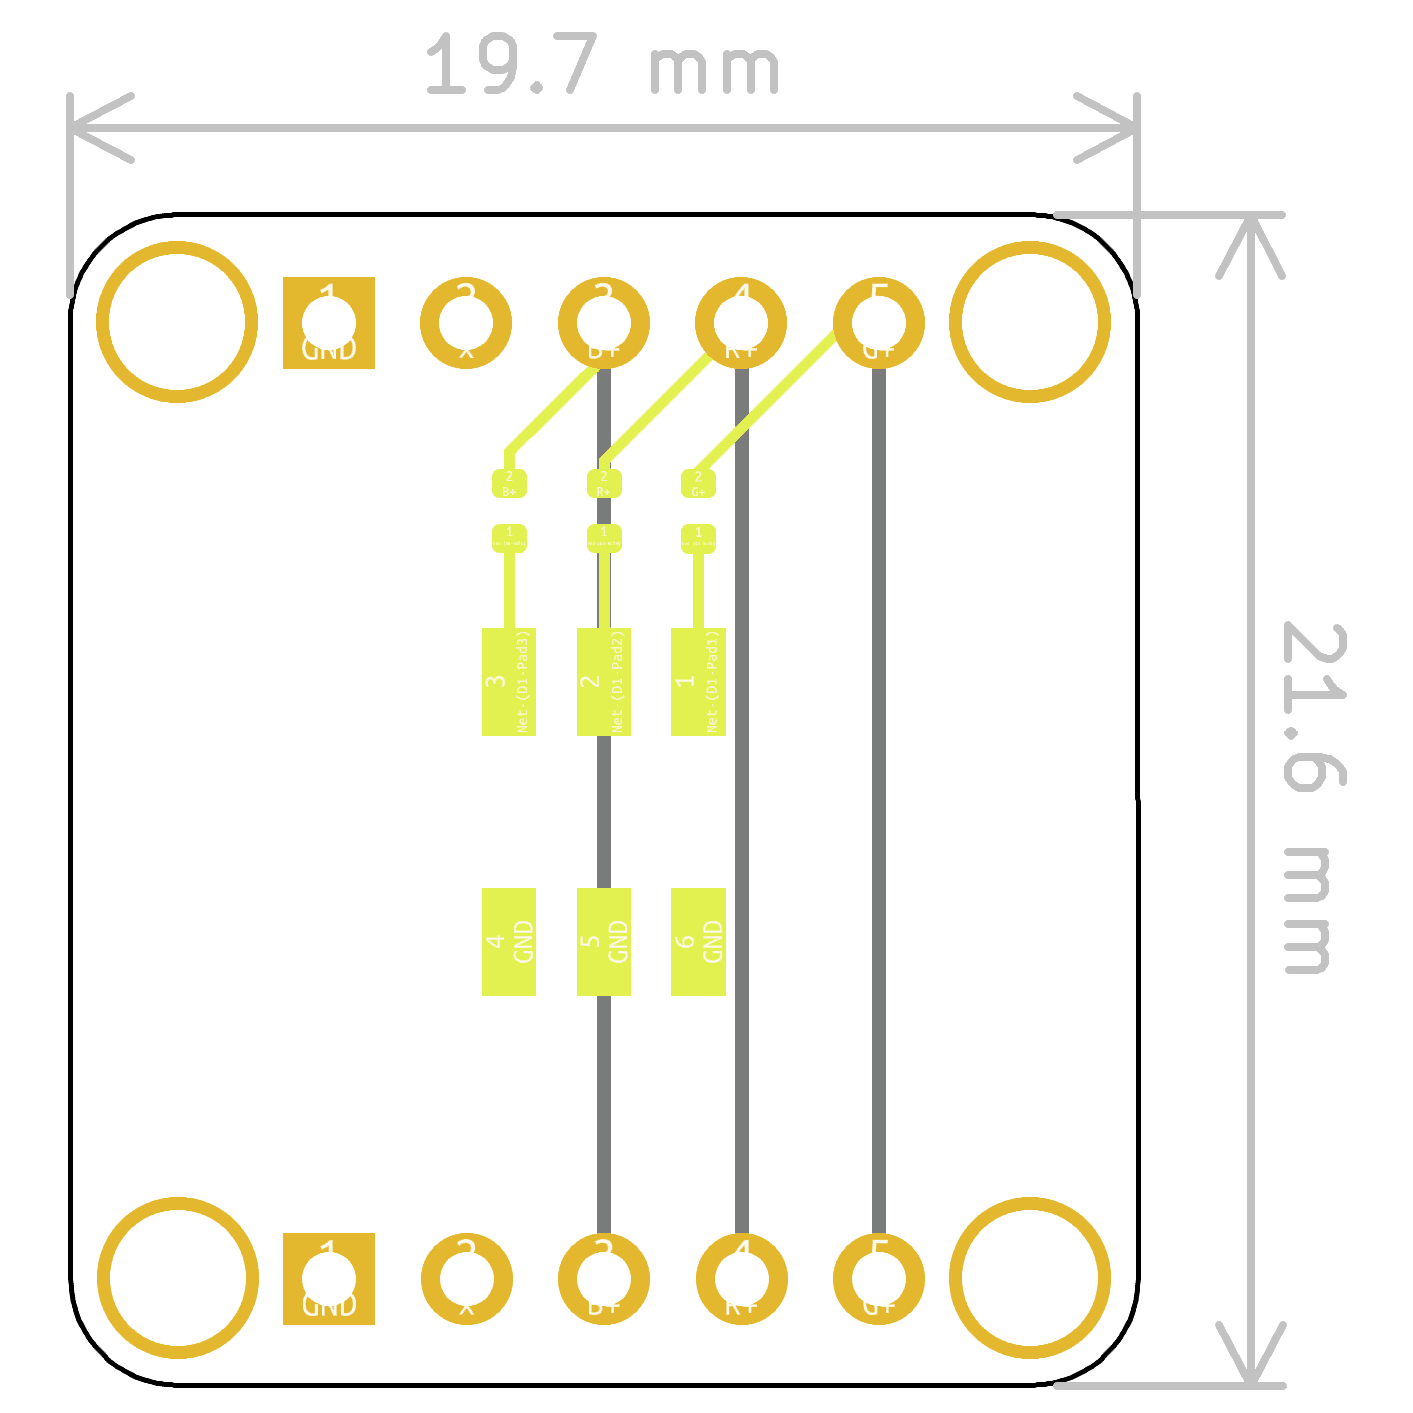
This part is fully open sourced with schematics and 3D files available bellow
AXM0006
Step by step user guide
All Axiometa products come with user guides and setting up instructions
Connection Guide
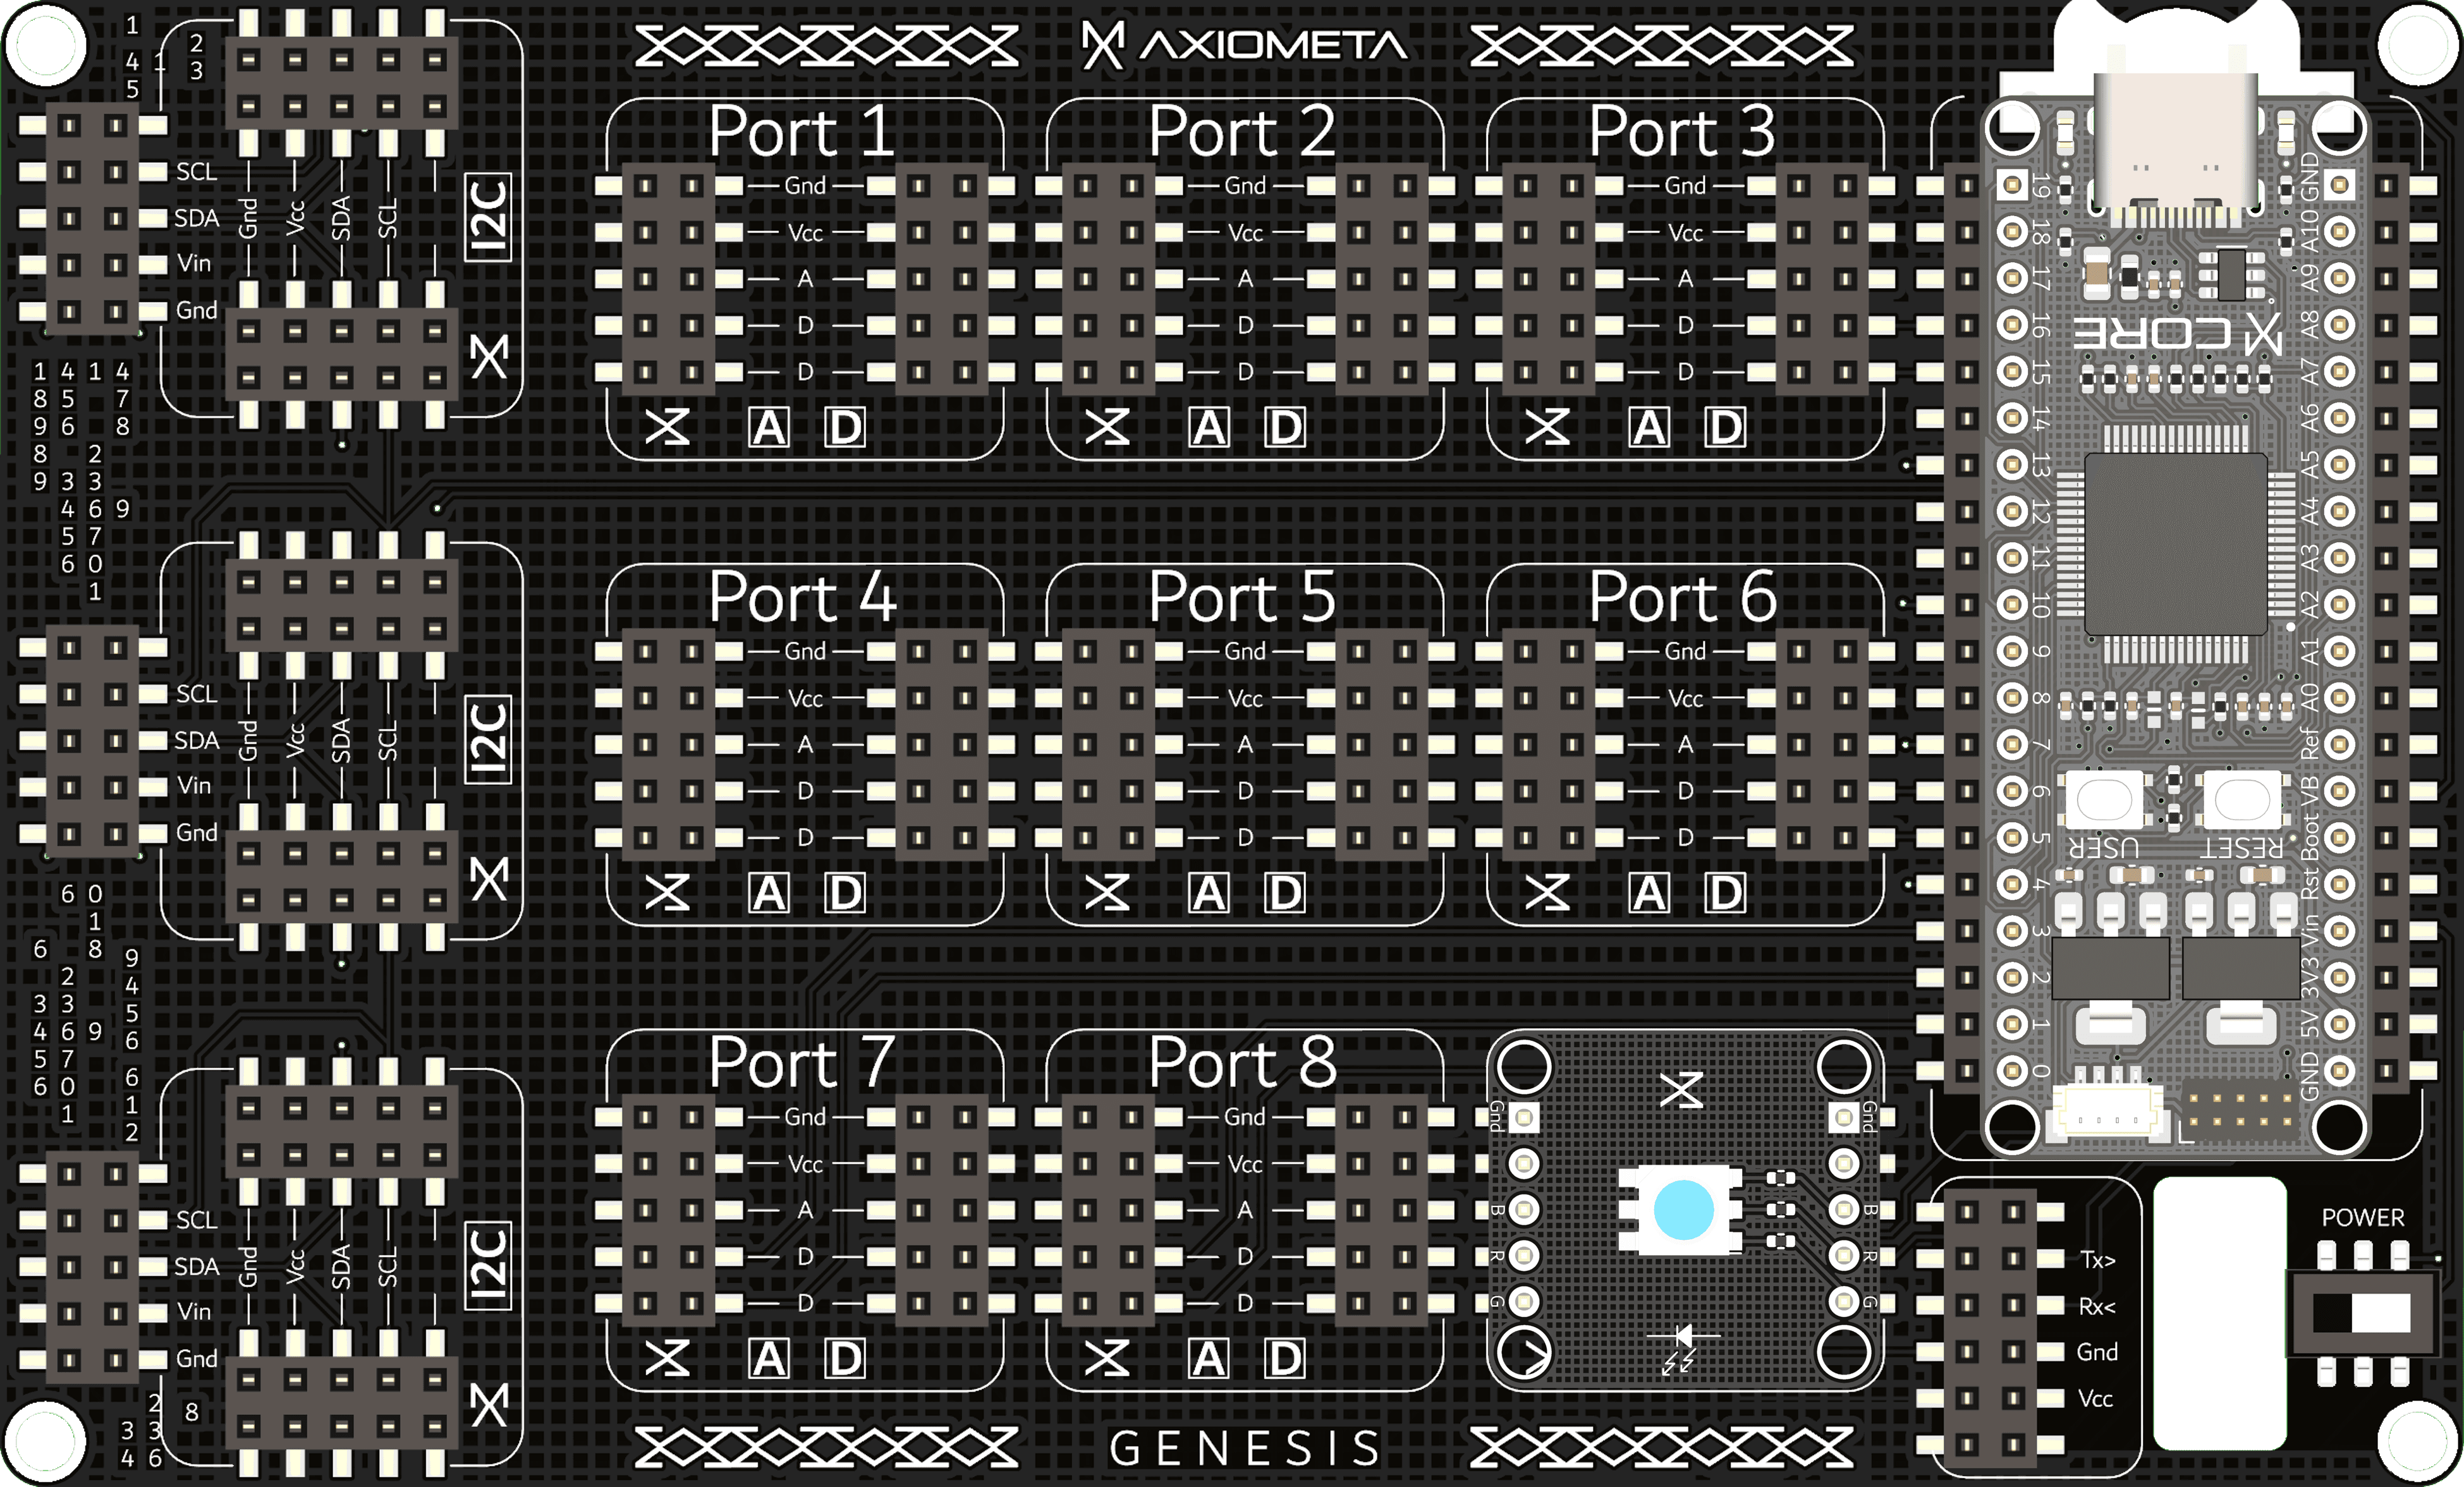
Here you’ll find connection guide images to help you integrate the sensor with various development platforms.

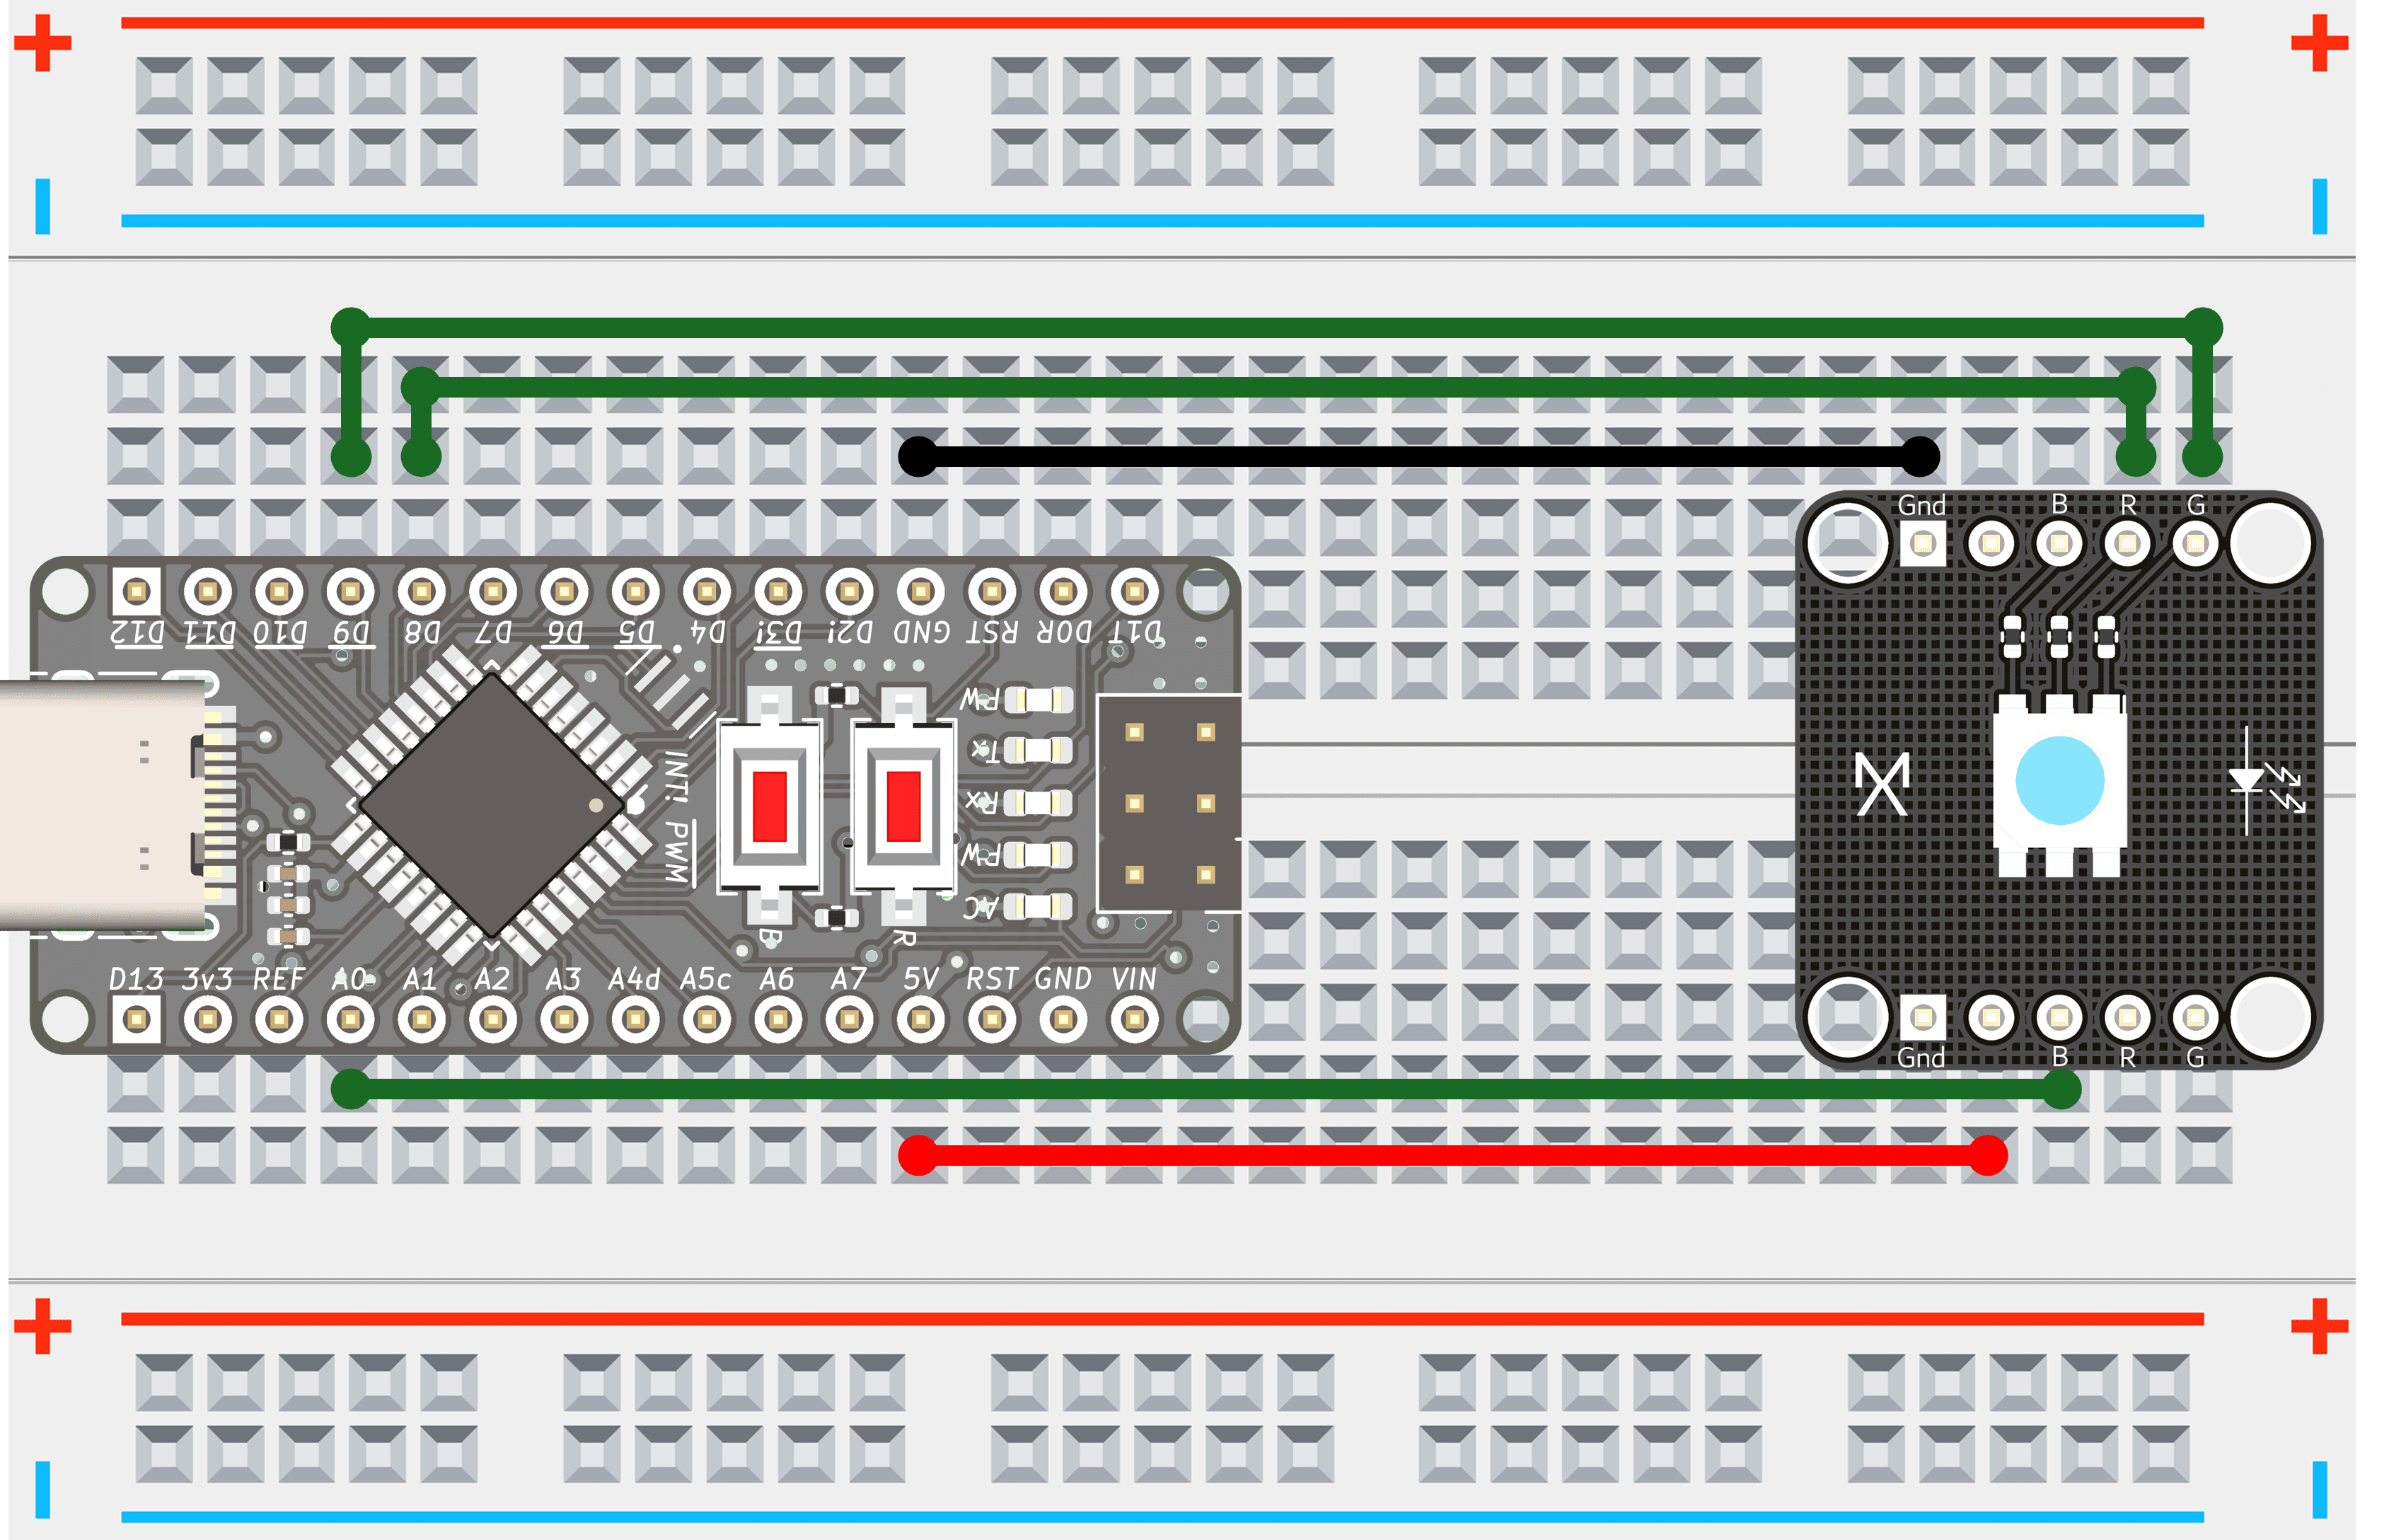

×
![]()
Arduino Example Code
If you haven’t already, check out this tutorial to guide you through setting up the Arduino IDE for uploading and debugging your sketches, as well as installing libraries.
For this part, you won’t need to use a library.
Code copied!
const int ledA0 = A0;  // LED on pin A0
const int led9 = 9;    // LED on pin 9
const int led8 = 8;    // LED on pin 8

void setup() {
  // Set the LED pins as OUTPUT
  pinMode(ledA0, OUTPUT);
  pinMode(led9, OUTPUT);
  pinMode(led8, OUTPUT);
}

void loop() {
  // Turn on LED at A0 and turn off others
  digitalWrite(ledA0, HIGH);
  digitalWrite(led9, LOW);
  digitalWrite(led8, LOW);
  delay(1000);  // Wait 1 second

  // Turn on LED at 9 and turn off others
  digitalWrite(ledA0, LOW);
  digitalWrite(led9, HIGH);
  digitalWrite(led8, LOW);
  delay(1000);  // Wait 1 second

  // Turn on LED at 8 and turn off others
  digitalWrite(ledA0, LOW);
  digitalWrite(led9, LOW);
  digitalWrite(led8, HIGH);
  delay(1000);  // Wait 1 second
}
To see it working open serial monitor
MAC: CMD+Shift+M
Windows: CTRL+Shift+M
Related products
What's inside?
Discussion
Add a review
 RGB LED
Rating*
0/5
* Rating is required
Your review
* Review is required
Name
* Name is required
Email
* Email is required
0.0
Based on 0 reviews
| 5 star | 0% | |
| 4 star | 0% | |
| 3 star | 0% | |
| 2 star | 0% | |
| 1 star | 0% |
0 of 0 reviews
Sorry, no reviews match your current selections

